Table of Contents
Repairing a corrupted micro SD card on Android
Are you having trouble accessing the data on your micro SD card? Is it showing up as corrupted or unreadable? Don’t worry as we’ve got you covered! In this blog post, we’ll walk you through step-by-step instructions on how to fix a corrupted micro sd card on Android.
We will guide you through some steps to fix your SD card and start using it again, so be sure you read the article till the end to be able to fix the issue.
How to fix an SD card on Android
1. Connect Your Android SD Card to Your Computer
One of the most common solutions for fixing a corrupted micro SD card on an Android device is to connect it to your computer. To do this, you will need a USB cable or an SD card reader.
Once you have the necessary equipment, insert your micro SD card into your device or into the card reader. After doing this, connect the device or card reader to your computer with the USB cable.
Once your computer has recognized the connection, you can start troubleshooting the corrupted micro SD card.
2. Open File Explorer and Select This PC
It is important to ensure that your Android SD Card is connected to your computer before proceeding with further steps. To do this, simply plug the SD card into your computer’s USB port.
Once the connection is established, open File Explorer and select This PC from the left panel. You should then be able to see the SD card in the list of available drives. Insert your SD card and click on it to open. You may then be prompted to format the SD card before you can access the files stored on it, however, it is not recommended to do so as this could lead to further data loss.
Now that your SD card is connected to your computer, you can proceed with the next step in the process of fixing a corrupted micro SD card on Android.
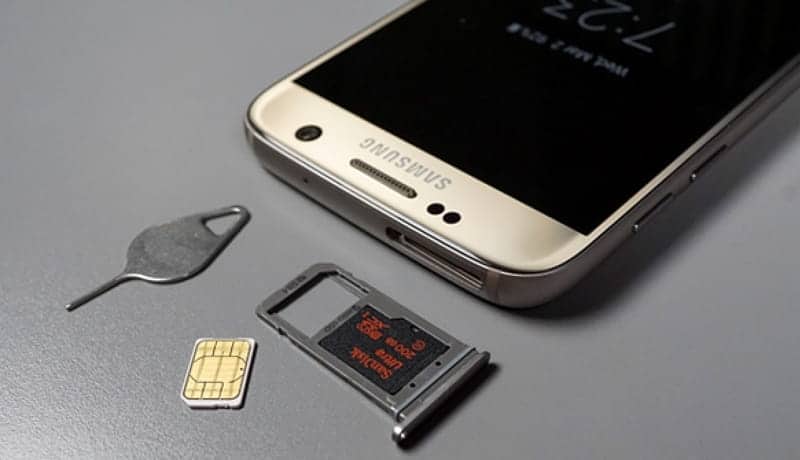
3. Insert Your SD Card
Inserting an SD card into your computer is a straightforward process. To begin, you will need to locate the SD card slot on your computer. Most computers will have an SD card slot on the side or the front. Insert the SD card into the slot and make sure it is firmly secured in place. Your computer should recognize the card and you should see a notification that the SD card has been inserted.
4. Connect Your Android Device to Your PC
Once your Android device is connected to your PC, you will need to install the drivers if they are not already installed. To do this, go to the device manager and select the device driver. Select the “update driver” option and follow the on-screen instructions to complete the installation.
Once the drivers are installed, open File Explorer on your computer and select This PC from the left panel. You should see a list of all of your storage devices. Right-click on your SD card drive and select Properties. You may be asked to enter the administrator password or confirm that you want to open the file.
From the Properties window, select the Tools tab and click on Check now in the Error Checking section. Check both boxes and click Start. This will start a scan of your SD card for any errors or damage. If it finds any errors, it will attempt to repair them automatically.
Once the scan is complete, click on Apply and then OK to save your changes. This should help fix any corrupted files on your SD card and make it accessible again.
5. Change the Adapter, Card Reader, or USB Port
If your issue is still unsolved, you can try changing the adapter, card reader, or USB port. Change a new SD card reader, insert the SD card to it, and connect it to the PC. You can also switch the USB port and reconnect. If your card reader is damaged, try using an air gun to remove any dirt and dust from the SD card port. Once done, reinsert the card and check if the issue is solved. If none of these solutions works, you might have to consider reformatting the SD card.
6. Assign a New Drive Letter to Your SD Card
Assigning a new drive letter to your SD card is a fast and easy way to fix a corrupted micro SD card on your Android device. To do this, you need to open Disk Management. To open Disk Management, right-click on Start and select “Disk Management” from the list.
Once the Disk Management window has opened, look for your micro SD card in the list of disks. Right-click on the SD card and select “Change Drive Letter and Paths” from the list. You will then be prompted to enter a new drive letter for your SD card. Once you have entered the new drive letter, click “OK” to save the changes.
Your micro SD card should now be accessible on your computer and your Android device. If not, try connecting the SD card to another USB port or try using a different micro SD card reader or adapter.
7. Select Your Corrupted Memory Card
Once the SD card is visible, you can select it by right-clicking on it. To open the corrupted memory card, click on the Open option. This will open the corrupted memory card so that you can see the files that are stored in it. You can then select the files you want to recover and save them to your computer.
8. Run a Chkdsk Command
If your corrupted SD card is not responding to any of the above steps, it is time to run a CHKDSK command. This command line utility can check for errors on the file system of your SD card and try to fix them. To do so, connect the SD card to your computer via a card reader and open the command prompt window by typing CMD in the windows search box.
Type “chkdsk” followed by the drive letter corresponding to the SD card, then by a colon and /f. For example, if your SD card reader is X: drive, you would use the following command: chkdsk X: /f. This will check and fix any errors on your SD card.
9. Reformat the SD Card
Reformatting your corrupted SD card can be a last resort to fixing the issue. Reformatting the card will erase all the data on it, so it is important to back up any files you want to keep before proceeding. To reformat your SD card, you can use a computer or your Android device.
To reformat the SD card using a computer
- Connect the Android SD card to your computer and open File Explorer.
- Right-click on your SD card drive in Computer or My Computer and select “Format”.
- Select a file system from the drop-down menu and click “Start” to begin formatting the SD card.
To reformat the SD card using your Android device
- Navigate to Settings > Storage, select your SD card, then tap Format.
- Confirm that you want to erase all data on the card and tap Erase & Format to begin formatting the SD card.